

The header of a website is the first component that attracts the eyes of the visitor. It is the navigation bar showcasing your business's logo, essential page links, CTAs, and contact options like email ID or contact number.
From a personal website to an e-commerce store, a header is crucial to ensure your website offers easy browsing and user-friendliness. Many websites also use headers to deliver an essential message to the audience or for advertisements.
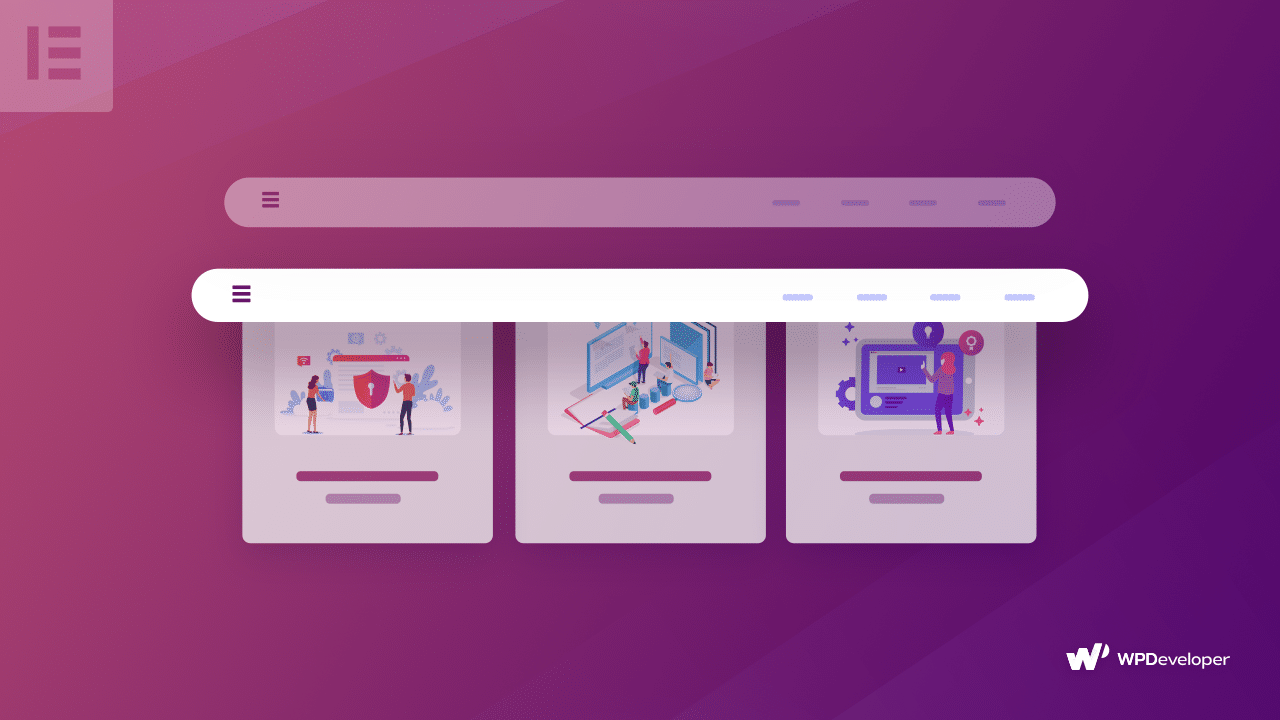
Several web designers utilize sticky headers for better navigation. This article will show you how to efficiently use the Elementor Sticky builder to create a sticky header for your website.
Is It Possible to Make the Elementor Sticky Header More Well-Designed and Stylish with Custom CSS?
An Elementor sticky header is like a makeover for your website design. However, it is possible to make the Elementor Sticky Header way more well-designed and stylish with Custom CSS and add dynamic features.
It is possible with the customization freedom Elementor offers with a CSS class. You may include the Transition, Height, Sticky effects, and Background color to the Elementor sticky header.
So, to create a stylish sticky header, you will need to visit the Edit Section for the entire header section. Then, navigate to "Advanced" and select the "Motion Effect" option. Here, you will find the "Effects offset" option and change its value to 100.
These changes will create a scrolling effect when your audience browses through your website, and the number indicates the scrolling distance. Next, you must scroll down and select "Custom CSS." Then you will need to add the following CSS class. You can edit it to add the numbers.

Custom CSS:
selector.elementor-sticky–-effects {
background-color: rgb(255, 220, 168) !important;
}
selector {
transition: background-color 3s ease !important;
}
selector.elementor-sticky–-effects >.elementor-container {
min-height: 80px;
}
selector > .elementor-container {
transition: min-height 1s ease !important;
}
When done, hit the "Update" button.
Different Types of Elementor Sticky Headers
You can consider other well-known enhancements when creating an Elementor sticky header and elevating your website's overall appearance, navigation, and user-friendliness. Here are a few types that you should know about:
Transparent Sticky Header
Transparent sticky headers are available for several best Elementor WordPress themes. In case you want to make your header transparent with CSS, you may use the following code snippet:
selector.elementor-sticky--effects{ background-color: rgba(133,130,255,0.5) !important }
selector{ transition: background-color 4s ease !important; }
selector.elementor-sticky--effects >.elementor-container{ min-height: 80px; }
selector > .elementor-container{ transition: min-height 1s ease !important; }
All you need to do is copy this code and head to the "Edit Section," go to the "Advanced" option and paste the code into the "Custom CSS" section. You can make desirable adjustments to the fields. Using this code snippet, you can change the transparency, height, and background color and add an animation effect.
Fade-in / Fade-out
The fade-in, fade-out option is another impressive option. For this type, visit the "Edit Section"> "Advanced"> "Motion Effects"> "Scrolling Effects." Next, select the edit option for "Transparency," switch the direction to "Fade In" or "Fade Out," and make preferable changes to the design.
Shrinking Sticky Header
The next popular alternative is a header that shrinks when people scroll on your website. Use the following code for this one:
header.sticky-header {
- header-height: 90px;
- opacity: 0.90;
- shrink-me: 0.80;
- sticky-background-color: #0e41e5;
- transition: .3s ease-in-out;
transition: background-color var(--transition),
background-image var(--transition),
backdrop-filter var(--transition),
opacity var(--transition);
}
header.sticky-header.elementor-sticky--effects {
background-color: var(--sticky-background-color) !important;
background-image: none !important;
opacity: var(--opacity) !important;
-webkit-backdrop-filter: blur(10px);
backdrop-filter: blur(10px);
}
header.sticky-header > .elementor-container {
transition: min-height var(--transition);
}
header.sticky-header.elementor-sticky--effects > .elementor-container {
min-height: calc(var(--header-height) * var(--shrink-me))!important;
height: calc(var(--header-height) * var(--shrink-me));
}
header.sticky-header .elementor-nav-menu .elementor-item {
transition: padding var(--transition);
}
header.sticky-header.elementor-sticky--effects .elementor-nav-menu .elementor-item {
padding-bottom: 10px !important;
padding-top: 10px !important;
}
header.sticky-header > .elementor-container .logo img {
transition: max-width var(--transition);
}
header.sticky-header.elementor-sticky--effects .logo img {
max-width: calc(100% * var(--shrink-me));
}
How to Use the Elementor Sticky Builder?
A sticky header offers convenience to your visitors, but creating it can be complex. Therefore, here are a few steps on how you can use Elementor to create a sticky header for your website:
Step 1: Create the Menu
The primary step is to create a menu in the "wp-admin"> "Appearance"> "Menus." You can select all the essential pages you prefer your header to showcase.
Step 2: Create the Header in the Elementor
Once the main menu is ready, visit the "Elementor Templates"> "Theme Builder." Go to Header section and click on "Add New Header". Next, write the header template's name and select "Create Template" in the pop-up.
It will redirect you to the page for "Elementor Editor." Here, you can select preferable pre-designed header templates or even craft your own. You can start building a sticky header from square one. If you are looking for premade custom templates for different sections then you can also go for the WordPress themes by Mizan Themes, If you are a startup company then you can also go for the WP Theme bundle wherein you can get 25+ Premium WordPress themes at a pocket friendly price.
Additionally, you should know that Elementor delivers over seven widgets available for you to use effectively to build an attractive header.
Step 3: Make Header Template
Now, for building a header template, pick the two-column structure. One will cater to the logo, while the other is for your horizontal menu. Then in the "Edit Section"> "Layout," and select the "Boxed" option for "Content Width".
Under "Edit Column," choose "20%" for the "Column Width." Next, add your website logo and pick the left alignment for the left column. For the right column, add the Navigation Menu and select the menu you built in Step 1. Change its alignment to the right.
These steps will only help you create a simple header. You may add effects like hover animation, add buttons, and change the background color.
Step 4: Make the Header Sticky
Once you have a basic header ready, turn it into a sticky header. To create a fixed header, visit the "Edit Section" and navigate to the "Advanced" section. Here, in the "Motion Effects" tab, choose "Top" from the drop-down menu for the "Sticky" field.
It also allows you to select multiple mobile devices where you want the header to be sticky. Once everything is also what you wish, you can hit the "Publish" button. After publishing, a pop-up will display on your screen with the option to "Add Condition" for your new sticky header.
You may set conditions to establish where the sticky header will be visible on your website. For instance, you may select "Entire Site" to showcase it everywhere on your website.
Conclusion
Websites offering long-form content can efficiently utilize a sticky header to elevate user experience and make navigation a breeze. Your header can comprise various elements like logos, pages, CTA, contact, etc.
Using Elementor, you can create a user-friendly yet sophisticated Elementor sticky header. The builder offers solutions against building headers with CSS or JavaScript. With this builder, you can create numerous headers to amplify your website's overall appearance. Also while building your site on Elementor the Elementor AI Builder can also come in handy it makes your work a lot more easier.